Application Videos
FAQ: Frequently asked questions
Before gluing, lightly sand the back of the formliner over the entire surface. Blow off excess dust with a compressed air hose.
Tip: We recommend an electronic one-hand angle grinder with speed control.
To determine the dimensions on the structure side, lay out the formliner flat. Then cut the formliner to size using the RECKLI formliner knife along the RECKLI cutting rail or a hand-held circular saw with a corresponding guide rail.
Tip: We recommend gluing the formliner onto a carrier plate first and then cutting it to size.
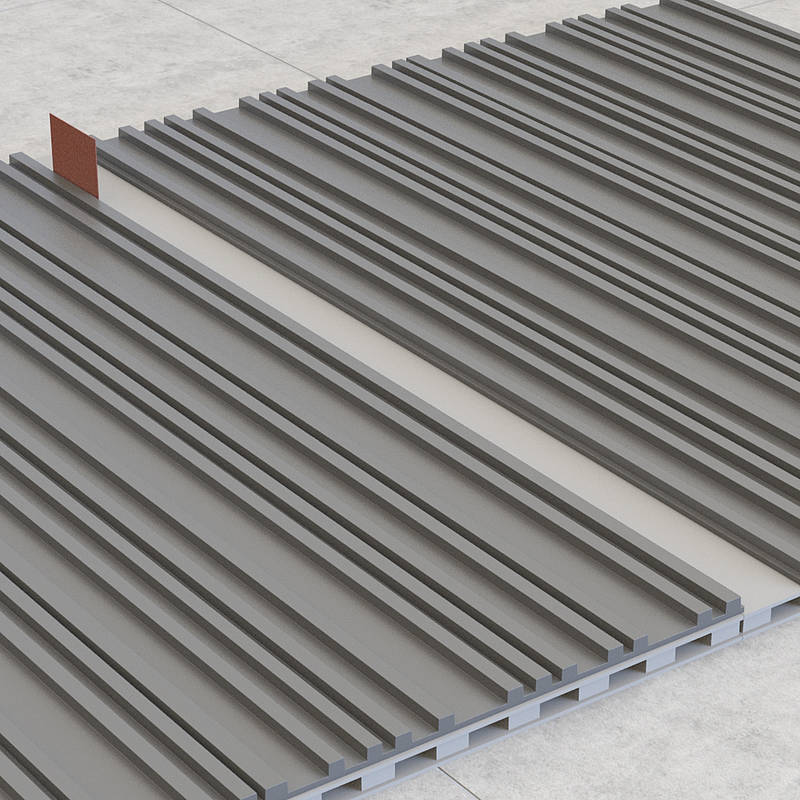
Prepare the subframe in the required size and attach it to the formwork. Now align the formliner according to the desired arrangement and butt together. During this step, observe the marking for the sequence on the back of the formliner, if present. Structural height differences have to be levelled out afterwards.
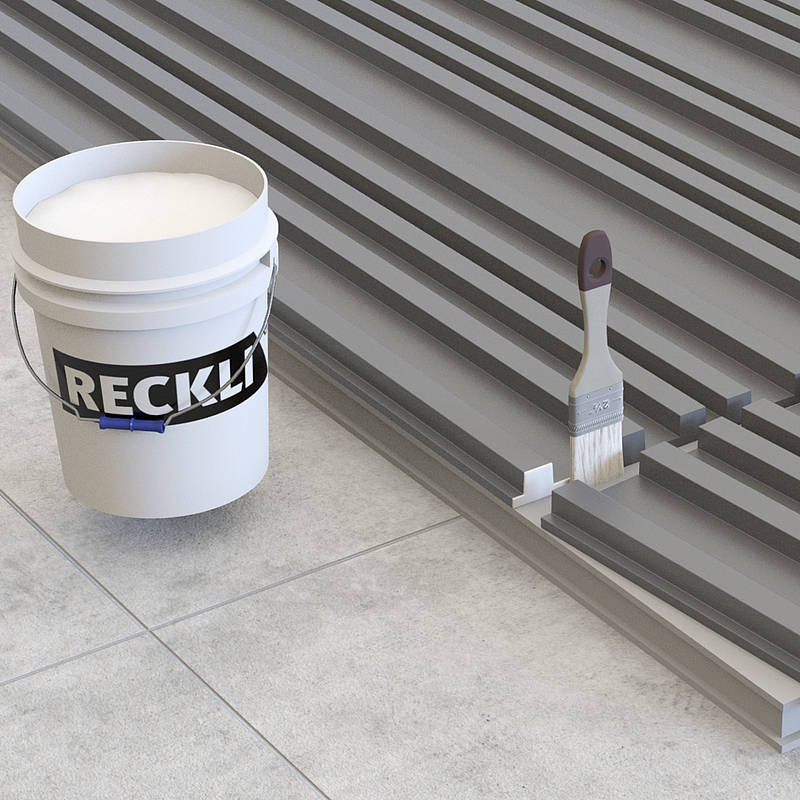
To glue the formliners together, first sand the edges and remove the excess dust. Then coat both edges with RECKLI formliner adhesive and press them together. Remove the excess material with a spatula.
The formliners have to be glued to the formwork individually and over the entire surface. Roll the formliners up one after the other to the half-way point for this. Then apply the RECKLI formliner adhesive to the exposed surface of the formwork over the entire surface with the RECKLI notched trowel and slowly roll the rolled-up formliner back into the adhesive. Repeat this process with the other side.
Before each concreting, the formliner must be treated at least twice with RECKLI Stripping Wax with an angle of 45 - 60 degrees. Apply the respective Stripping Wax in sufficient quantity (see technical data sheet) and carefully with a suitable spraying device (pump spray or airless device) in a crosswise motion so that the best possible demouldability is achieved and the optimal concrete appearance is created. Pay particular attention to undercuts and rib flanks to ensure that they are sufficiently wetted with Stripping Wax. Remove excess Stripping Wax from the structural recesses. If possible, place the formwork/tilt table in a vertical position after applying the release agent, so that any excess release agent can run off. Allow the Stripping Wax to dry completely and flash off before concreting.
Beyond the standard requirements, the formliners do not require any additional measures with regard to the type, composition, consistency or quality of the fresh concrete. Concreting and compacting can be done as usual. When using external vibrators, keep in mind that part of the vibration is absorbed by the elasticity of the formliners. This must be compensated for by a longer or more intensive vibration period.
Tip: To obtain an optimum result, we recommend making a test pour in advance to ensure the compatibility of the concrete formulation and the formliner.
Note: Pay attention to the temperature of the concrete during concreting. A temperature above 65 °C damages the formliners. Make sure that the spacers do not press into the formliner and that the minimum overlap is always calculated from the structural low point. When using UHPC, the TL or TL-SO Stripping Wax must be used. TL-W is not suitable here.
The concrete element must be demoulded slowly and as early as possible in compliance with the relevant cement and concrete standards.
First mark the area to be blocked off on the formliner and clean it thoroughly with RECKLI TL or RECKLI TL-SO. Then brush the formliner twice with RECKLI Mould Wax and allow it to flash off until the solvent has evaporated and a silky-matt sheen appears on the formliner. Then pour the RECKLI Stop Off Paste PUR in several layers - up to at least 5 mm above the highest point - onto the area to be moulded. Then place a strip of plywood in the still fresh Stop Off Paste and press it in until the material swells out of the side. After the paste has hardened (duration approx. 1 hour), the board with the paste can be removed and the counter profile is cut to size with a hand-held circular saw.
Note:
The areas treated with RECKLI Mould Wax must be neutralised again with the RECKLI Stripping Wax used in each case; otherwise, colour differences will occur on the concrete part. Use a clean rag soaked in the appropriate RECKLI Stripping Wax for this purpose. With this rag, the Mould Wax residues must then be thoroughly and completely removed from the structural formliner.
Inverted formliner are exact-fit counterparts for a specific formliner area. For symmetrical structures (ribs and corrugations), a formliner strip of the respective structure can be used as a barrier profile instead of a counter profile made of RECKLI Stop Off Paste PUR.
RECKLI Elasto-Filler can be used to repair damaged or torn RECKLI formliners.
To achieve perfect adhesion of the filler, the areas to be repaired must be clean, dry, dust-free and free of oil, wax and grease. In addition, the repair areas must be roughened mechanically with sandpaper. RECKLI Elasto-Filler must then be filled into the areas to be repaired within the processing time. Excess material must be removed when fresh. Structural improvements and adjustments must also be carried out in the fresh state. Adhering residues can be re-sanded or sanded off after approx. 2-3 hours and the material is then loadable after approx. 4-5 hours.
To achieve reinforcement of fractures and seams, you should carefully clean seams and crack flanks. Place PE foil or oiled paper under the seam to prevent the formliner from sticking to the substrate due to the filler oozing out. Then apply RECKLI Elasto-Filler to the repair areas and press lightly together. Filler that swells out must be removed when fresh, as hardened filler can only be sanded or cut off. After the filler has hardened, place the formliner on the textured side. Grind the back of the formliner approx. 3-5 cm wide and approx. 3 mm deep on both sides of the seam. Fill and level the sanded recess with RECKLI Elasto-Filler. After approx. 2-3 hours, this seam must be ground flat. Then turn the formliner over again and rub the repaired crack area with RECKLI Stripping Wax TL/TL-SO or TL-W.
First mix the two components (base and hardener) of the RECKLI complementary product together in a separate bucket. Observe the mixing ratio on the product container. Now mix both components with the RECKLI spiral agitator. Subsequently, the mixed mass must be poured into a second bucket and processed again with the RECKLI spiral agitator. The product is now prepared in the optimal way.


